

Raids & Bosses
Tombs of Amascut
Tombs of Amascut: 750 total level, parties of one to eight, four path bosses, the Wardens and current rewards.
Raids & Bosses
Tombs of Amascut: 750 total level, parties of one to eight, four path bosses, the Wardens and current rewards.
Tombs of Amascut is a high-level raid for one to eight players. You need a total level of 750. Solo attempts require enough damage and supplies to complete all four paths and the Wardens; learning with a team makes the mechanics easier to practise.
You can get there by using ::toa or opening the spellbook → Games → Tombs of Amascut.
Before you enter you need to make a party or join one, just like the other raids.
Bring Melee and Ranged equipment, food and prayer restoration. Choose gear you can use comfortably while moving and switching prayers. The encounter tips below describe Delanor’s current path fights.
Once you enter you will see 5 entrances and 4 you are able to enter right away, being:
Once you've completed these, you can enter the last one and face the wardens.
Important: After each fight a ghost will appear. To proceed, make sure to right-click it and click "proceed".
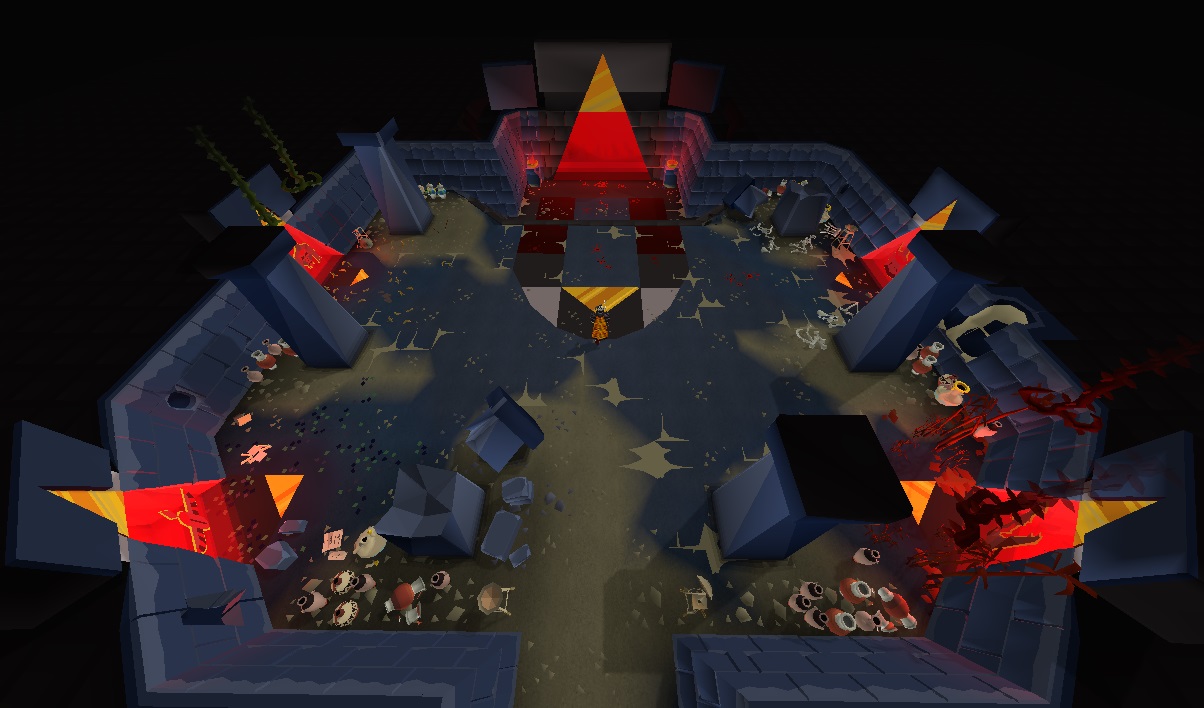
Combat style: Melee
Protection Prayer: Melee
This fight isn't that special - just keep your prayer up and prepare for his special attack.
When he slams his spear into the ground, four symbols will light up one after another. Remember their order, then move to the matching positions in that same order.
Combat style: Ranged
Protection prayer: Mage/Range
This fight isn't that special - just keep your prayer up, change it accordingly and move out of the poison.
His projectile first travels to the centre, then expands towards the party. Keep the matching protection prayer active until the incoming attack reaches you; the centre animation is your warning to prepare.
Combat style: Melee
Protection prayer: None needed
This fight gets more complicated. You need to make sure you keep dodging all of his abilities:
All these attacks show where they are going to land, so you should move out of the way.
Combat style: Melee
Protection prayer: Melee/Magic
Ba-Ba has several attacks which each need to be handled differently:
Combat style: Melee
Protection prayer: None
Can summon flying pyramids - stand in between them to receive no damage.
After destroying the Obelisk, you will need to deal with the warden and attacks from the Obelisk at the same time.
Combat style: Ranged
Protection prayer: Range/Mage
During this phase the warden will use two kinds of attack:
Important: During all these attacks, the Obelisk will send out either a red orb that can be negated with protect from mage, or several red skulls with lightning that will damage in a 5x5 area.
Combat style: Ranged
Protection prayer: Range/Mage
During this phase the warden will use two kinds of attack:
The Obelisk will still do the same attacks in the meanwhile.
After you kill the 2nd warden, you can proceed and claim your loot.
After defeating the Wardens, proceed to the reward area and claim your chest. Current equipment rewards include Osmumten’s fang, Lightbearer, Elidinis’ ward, Masori armour and Tumeken’s shadow. Thread of Elidinis is also available. Ordinary rewards include coins, supplies and keys. Raid bonuses affect your reward rolls and effective rare chance.
Related guides: Chambers of Xeric and Theatre of Blood.